Urbex, or Urban Exploration, is a type of photography that involves exploring abandoned buildings and other man-made structures. It can be a dangerous hobby, as these places are often in disrepair and may be unsafe to explore. But for those who love the thrill of the unknown, Urbex offers an exciting opportunity to capture unique and sometimes eerie images.
In this guide, we’ll teach you the basics of Urbex photography, from finding interesting locations to capturing stunning photos in difficult conditions. We’ll also show you how to post-process your photos to bring out their best features. So whether you’re a beginner or an experienced Urbex photographer, this guide has something for you!
[ExpertPhotography is supported by readers. Product links on ExpertPhotography are referral links. If you use one of these and buy something, we make a little bit of money. Need more info? See how it all works here.]
Exploring Urbex Photography: What is Urban Exploration Photography?
You can explore a city by following the main streets. You can see the famous landmarks. You can go to the biggest attractions. But that’s not urban exploration.
What is urbex, anyway?
Real urban exploration, often called ‘urbex’, is about going off the beaten path. It’s about finding those secret locations in the urban jungle.
Urbex photography is also called ‘UE photography’. ‘UE’ is short for urban exploration.
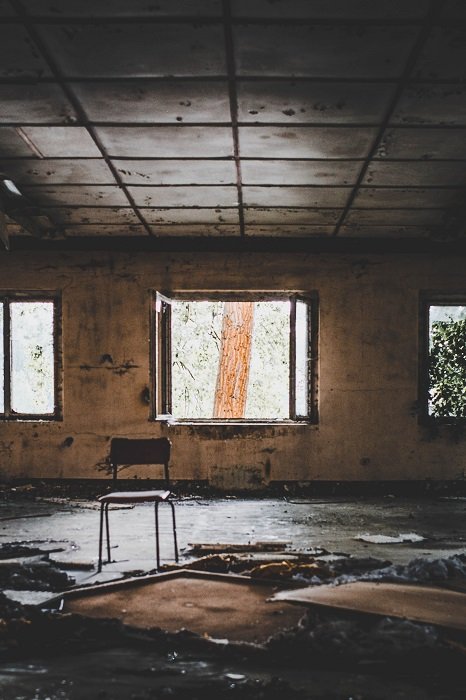
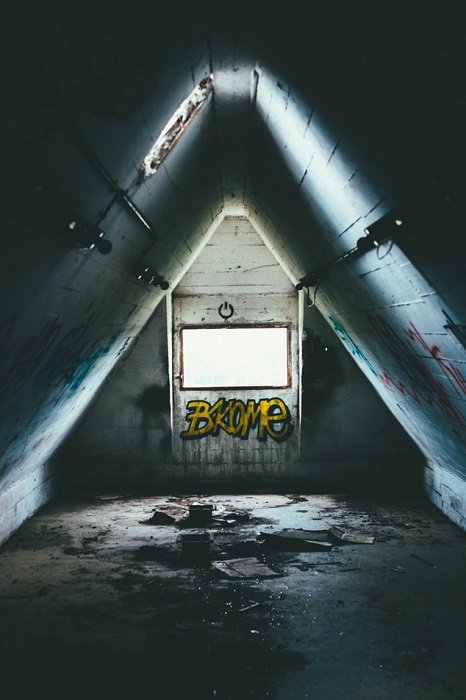
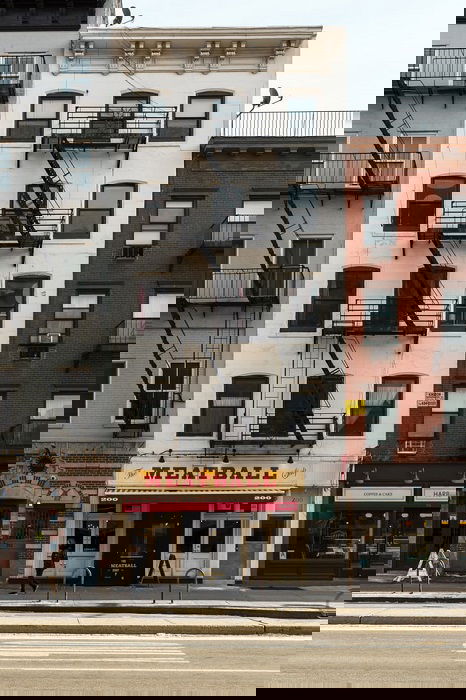
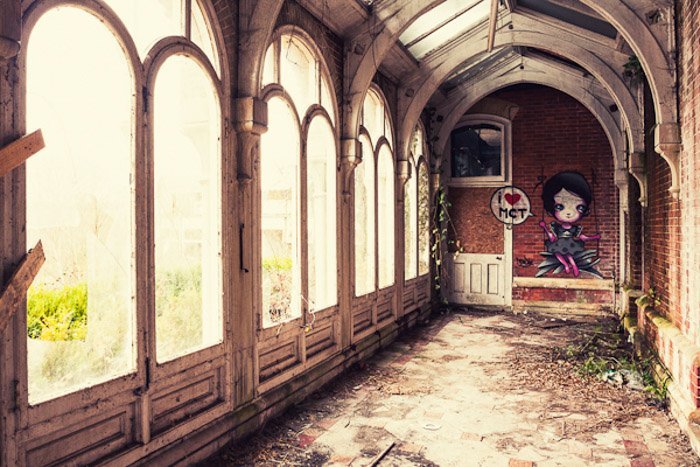
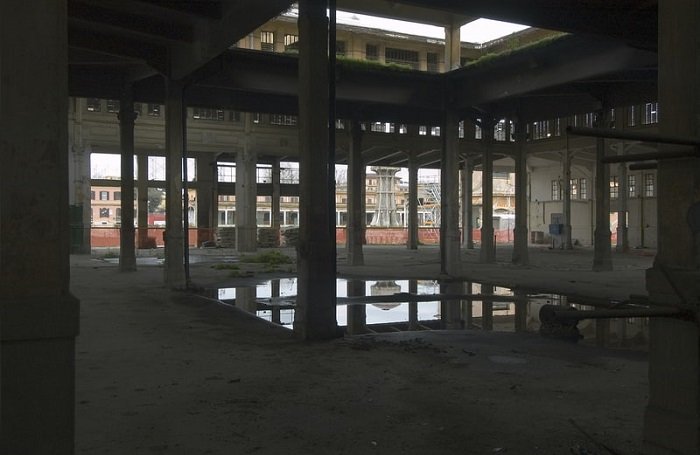
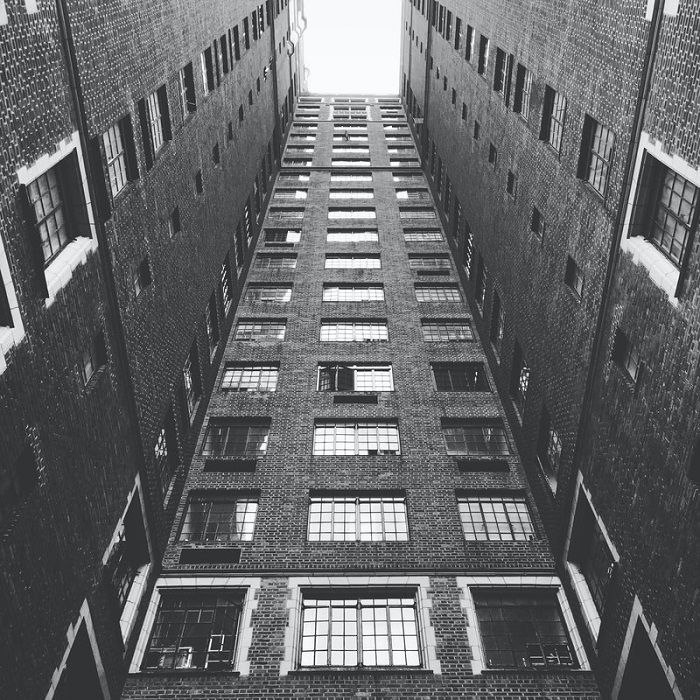
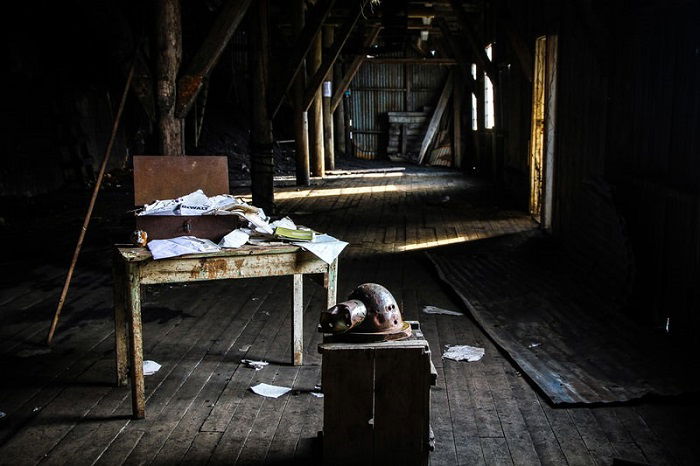
Urbex photography is about looking for the derelict and the desolate. The urbex photographer wants to find the urban wreckage of a bygone age. They want to capture the long-abandoned decaying structures in all their glory!
Cities are full of abandoned buildings. The boom and bust of history have scarred cities all around the world. There are thousands of disused hospitals, factories, housing complexes, and theme parks.
Urban exploration photography is about finding these abandoned places. And of course, taking amazing photos of them.
Urbex Photography isn’t an easy pursuit. There are many dangers involved and you can get into trouble. But for many photographers, that’s all part of the excitement.
We can’t tell you what to do, but we recommend staying within legal boundaries. If you can, ask permission to explore and always be careful. If it looks too dangerous, don’t go in.
The urbex philosophy is ‘Take nothing but pictures and leave nothing but footprints’. It’s a good maxim to follow. You’re there to explore, not make changes to the decor.
Urbex Photography Essential Gear
Urban exploration photography can be a tricky form of photography. You need to prepare yourself before heading into the concrete jungle.
Having the right gear is a vital part of urbex photography. You’ll need to have the right equipment with you when you venture out. Once you’re on location, you can’t just run back home to change your gear.

What Do You Need in Your Urbex Backpack?
When you venture out on an urban expedition, preparation is key. And that doesn’t just mean with your camera and lens. Your backpack needs to be full of the right equipment.
We’ll give you a quick look into the urbexer’s bag. But if you want a deep dive into all the equipment we suggest, click the link above.
At the very least, you’ll need a good bag. A shoulder bag is a good option, but a backpack is better. It leaves your hands free and you can fit a lot in there.
The Peak Design Everyday Backpack is our top pick. It’s a specialist camera backpack. It’s spacious and has more padding than a normal bag. The colors also blend into the urban landscape.
There are some good travel tripods you take with you. They give you more freedom when it comes to taking photos. Many tripods are small enough to not slow you down.
A torch is vital. If you’re urbexing at night, the benefit of a torch is obvious. But even if you’re roaming in the day, a torch can be very handy. Most abandoned buildings have a lot of dark places.
Sometimes an abandoned building is full of broken glass and rusty metal. This is why we recommend wearing high-quality gloves. We also recommend taking a basic first-aid kit.
The Best Cameras for Urbex Photography
As with any photography pursuit, selecting the right camera for the job is essential.
Urban exploration involves a lot of walking. And maybe even a bit of climbing and jumping. So you need a camera that is compact and lightweight. You don’t want a big machine weighing you down.
You also want a camera that has excellent image quality. Much of the shooting you’ll be doing will be urban landscape photography, so image quality is key.
You’ll be exploring some dark corners of the city, so having a good ISO range is also something to consider.
The Sony A7 III is an excellent camera for urban exploration. It’s compact, easy to carry, and the image quality is superb.
If you prefer a DSLR camera, the Canon 5D Mark IV is a good choice for urbex photography.
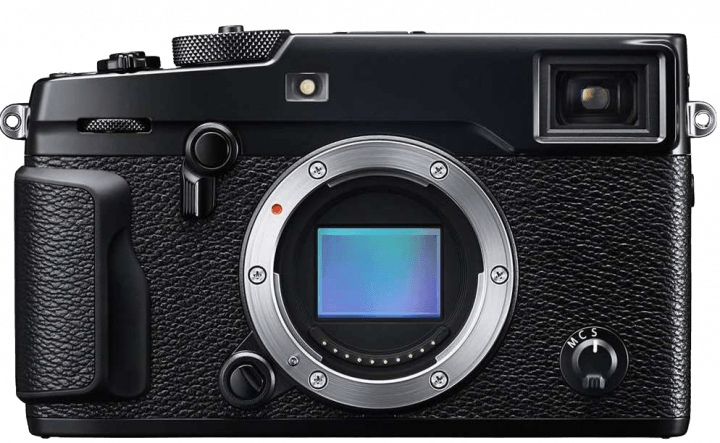
But our top camera pick for urban exploration photography is the Fujifilm XPro 3.
It has a compact and robust design, making it easy to carry. The 26.1MP Mirrorless Sensor will give you excellent image quality. And the ISO range is 80 all the way up to 51,200.
With 16 film simulation modes, it has all the attributes of a camera made for urban exploration photography.
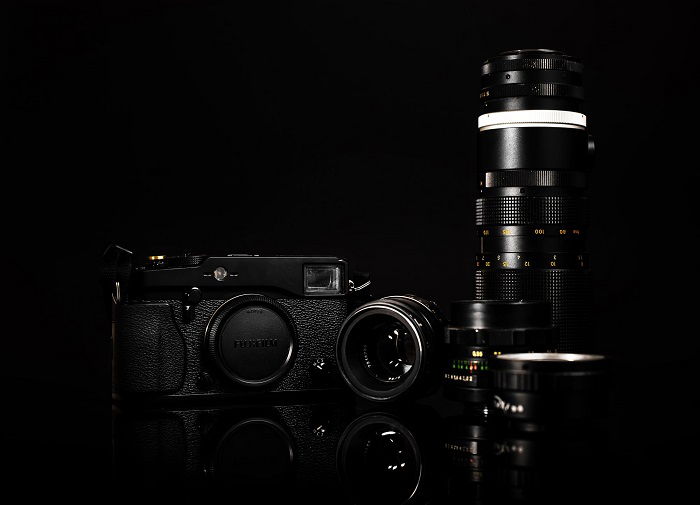
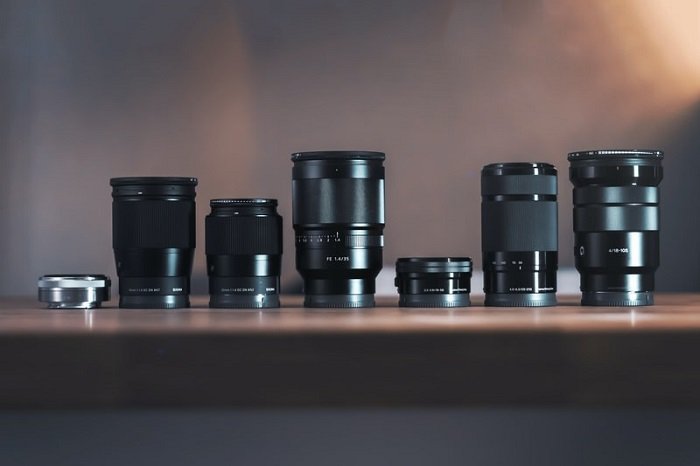
Best Lenses for Urbex Photography
Choosing the right lens is just as important as choosing the right camera. But there’s so much information around lenses it can be difficult to get a grip on it all.
Here, we’ll give you a quick rundown of the best lenses for urban exploration photography. But if you want more information, check out our full article on understanding lenses.
A prime lens is excellent for urbex photography. They’re well suited to landscapes and street photography. These are ideal for urban explorers.
A zoom lens isn’t necessary, but it can have its advantages. When exploring abandoned places, there will be places you can’t get to. Having a zoom lens will help you get those extra difficult shots.
You’ll also need to consider the aperture range on your lens. A low aperture is necessary for low light situations so you don’t need to rely on a slow shutter speed. And you’ll have more scope when it comes to depth of field.
Your lens options are limited by the brand of camera you use. Both Nikon and Canon make fantastic lenses. And if you go with our Fujifilm XPro 3 camera recommendation, you’ll have an excellent range of Fujinon lenses to choose from.
See the complete list of the best Fujifilm lenses here.
Wide-Angle Lenses
Wide-angle lenses are a valuable piece of equipment in many areas of photography. If you want a more thorough explanation of their benefits, click the link above.
Wide-angle lenses are excellent for landscapes and cityscapes. And they are popular with architecture and real estate photographers too. This makes them ideal for urban exploration photography.
You may be in abandoned buildings, but the same photography principles apply. A wide-angle lens will help you get that full-room view of that abandoned building.
With a wide-angle lens, you can be a real estate photographer by day and an urban explorer by night.
Picture Perfect Properties improves your ability to shoot buildings. It provides you with a solid foundation before moving onto urbex photography.
The Basics of Urbex Photography
Photography has a lot of unique words and phrases. If you’re new to photography, it might feel like people are speaking a foreign language.
We have a full dictionary for general photography slang here. But you can also have a look at our guide to urban exploration terms.
Learning the lingo will help you when you go exploring with seasoned urbexers. You don’t want to turn up with the wrong equipment or at the wrong building because of a misunderstanding. Using the right terms will help you get more exposure on social media too.
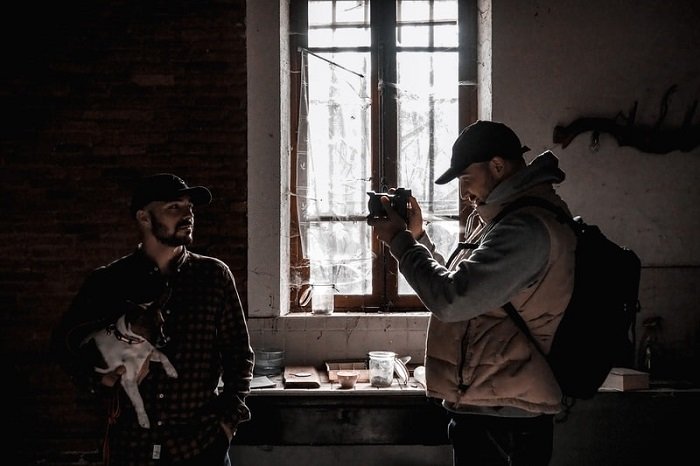
UE Photography Tips – A Beginner’s Guide
You’ve got your camera and packed your bag. Now it’s time to head out into the urban sprawl in search of some great abandoned places to shoot.
For the complete beginner’s guide to urban exploration photography, click the link above.
Getting Started With Urban Photography
Practising your urban photography is a good way to begin urban exploration photography.
Abandoned places can be difficult and even dangerous to enter. You can build your confidence by taking photographs in common urban areas. Once you’ve conquered those, search for more remote places.
Tips for Shooting Urban Landscape Photography
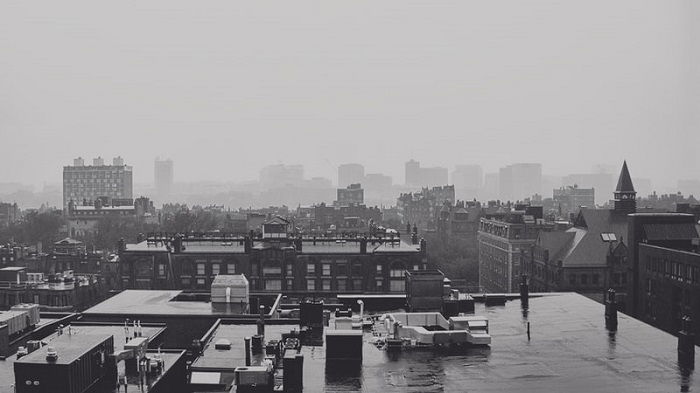
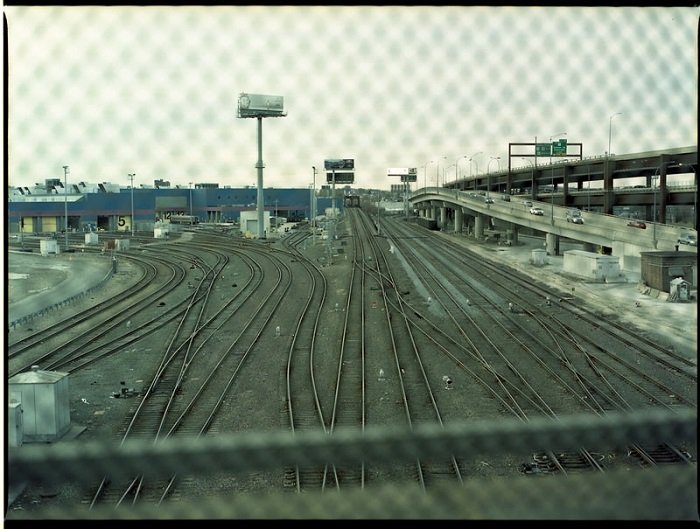
Shooting urban landscape photography is a great way to practice shooting urban areas. You can hone your camera skills and discover how you like to compose your urban photography.
Many cities have great viewpoints. These elevated spots give you great views of the rest of the city. It’s a great way to discover new abandoned places and future shooting locations.
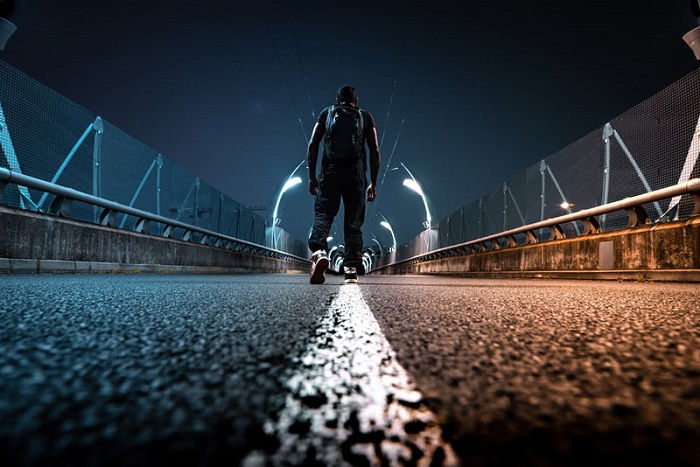
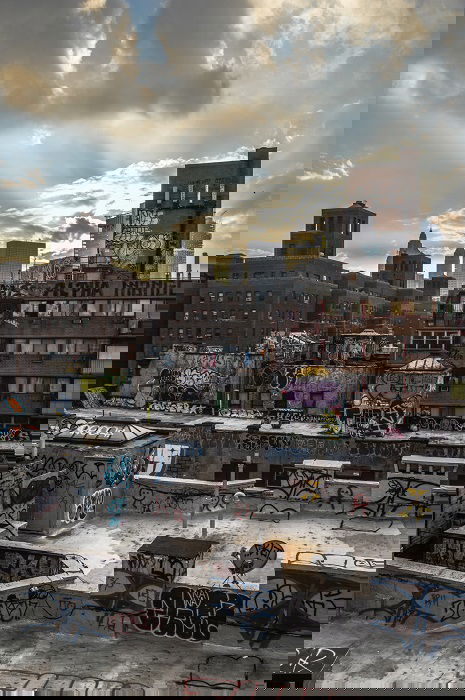
Shoot Urban Cityscapes with Long Exposure
Shooting at night is popular among urban exploration photographers. The setting sun can completely transform a city. During the day, it’s a mass of brick and concrete. At night, the city is alive with lights and colors.
Capturing cityscapes at night isn’t easy. You need to know about long exposure. And you’ll want to know about shutter speed and the exposure triangle.
Take a look at our full guide to cityscape long exposure photography by clicking the link above.
How to Find Locations for Urbex Photography
Once you’re ready for the full urbex experience, research abandoned places nearby. There could be some hidden gems right under your nose you aren’t even aware of.
There are online groups and forums dedicated to urban exploration photography. They’re a great resource for finding locations. Experienced urbexers are willing to share loads of handy exploration tips with beginners.
Shothotspot.com offers great suggestions for locations all around the world. And theurbanexplorer.co.uk has hundreds of abandoned buildings all across Europe.
Google Maps is an excellent research tool. You can browse an entire city without ever leaving your sofa. All you need to do is scroll around on Google Earth.
Use local knowledge. If you’re new in town or just visiting, ask the locals. They’ll know all the best places to shoot. And they’ll usually share tips and shortcuts for getting there.
Along with the above suggestions, you can also search “how to find abandoned places” on Google.
The simplest and most fun option is to explore yourself. You can roam the city with no fixed destination. You can head to old industrial areas or you can let your curiosity lead you.
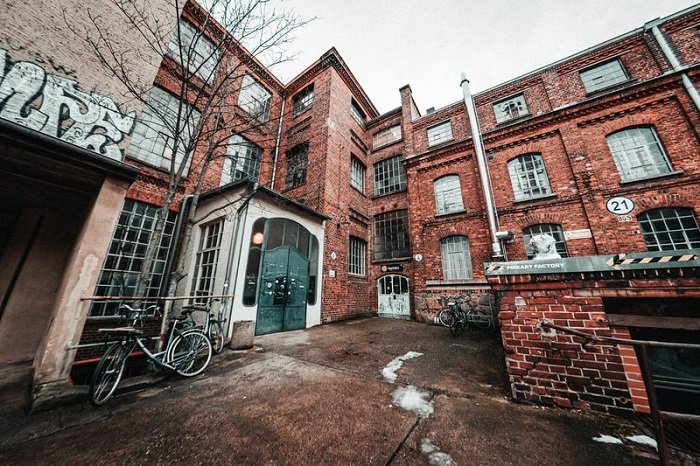
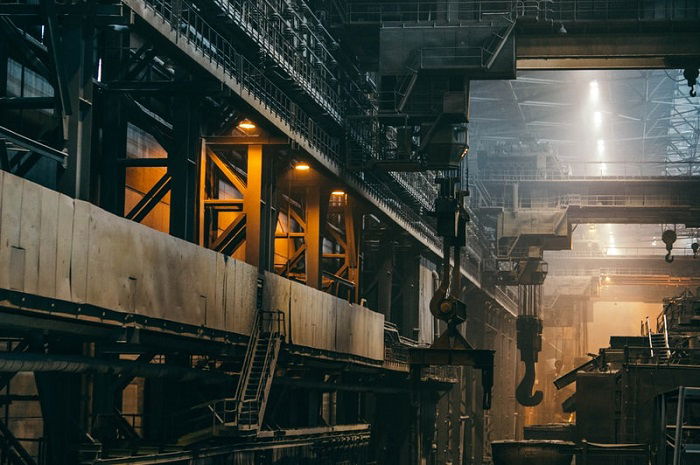
Improve Your Industrial Photography
Some of the abandoned buildings and structures you’ll find urbexing are old factories. Industrial settings make stunning photography locations.
For great industrial photography, factories don’t have to be abandoned. The bright flashes and dynamic movement in industrial environments can inspire excellent photographs.
But you can’t sneak into a working factory. You need permission to be there and you’ll need to wear all the necessary safety and protective gear.
Whether they’re abandoned or still running, shooting industrial settings can be great fun. And a run-down factory is a classic urbex photography location.
Click the link above to see our full guide on industrial photography.
Urbex Photography—Things to Consider
Getting involved with urban exploration photography is not a decision to take lightly.
Urbex is one of the most exciting fields of photography. But there are also many risks you need to consider. One wrong turn and you could find yourself in a lot of trouble.
Urbex Health and Safety
With urban exploration photography, safety is key.
If buildings have been decaying for a long time, there’s a risk of collapse. The whole ceiling might not cave in, but you could get hit with tiles or loose beams.
If you’re serious about urbex photography, you need to take safety seriously too. Pack all the safety gear you can. And make sure you wear robust clothes and shoes.
Sneaking off alone might seem exciting. But we don’t recommend it. You should never go exploring on your own. But if you do, tell someone where you’re going and when you expect to return.
Legal Dangers
Even standard urban and street photography have some legal conditions to consider. A photographer has rights in most countries in the world. But they can’t do anything they want.
And they can’t go anywhere they want either. If you can get permission to shoot at a specific building, great. But a lot of the time, urbex is an illegal activity.
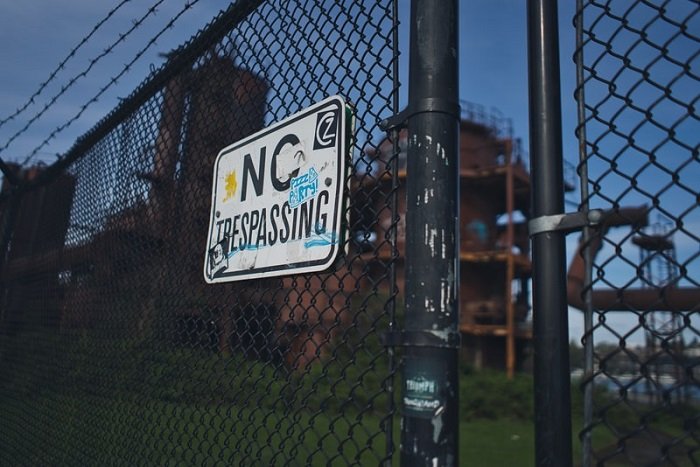
Trespassing
Even abandoned places are still owned by someone. And they probably don’t want some chancer with a camera on their property.
Some buildings might have security guards. They can be an inconvenience. But my experience has shown cooperation is the best course of action if you get caught. Be polite and don’t cause trouble.
Security guards don’t have much power. All they can do is ask you to leave. But if you give them a problem, they will call the police. Then you will be in trouble.
Once the police get involved, the owner can press charges against you. A fine and some time in court is a high price to pay for a few photos.
One strategy is to approach the security guard first. They might give you permission. Or they might even give you a tour.
The laws around trespassing are different in every country. Make sure you check the local laws before you go exploring. And if you need help, ask for information on a photography forum.
Editing Your Urbex Photos
Once your exploration is over, look at your photos. Some photos might need a little touching up. Here we’ll help you with some of the major areas of post-production.
Adobe Lightroom is our favourite editing software. If you don’t have it already, we recommend that you get the program. You won’t regret it.
You can check out our ultimate guide to Lightroom here. But we also have some specific process guides to improve your urbex post-processing.
Correcting HDR in Lightroom
Urban locations can be a real test of your camera’s dynamic range. You can end up with detailless dark areas and blown out skies.
If your images have this problem, there’s nothing to worry about. You can use the Lightroom HDR Merge technique to improve your photos in post-processing.
HDR standards for High Dynamic Range. The Lightroom HDR Merge technique can bring definition and detail back to the affected areas.
For the full tutorial, click the link above.

Lightroom For Black and White Editing
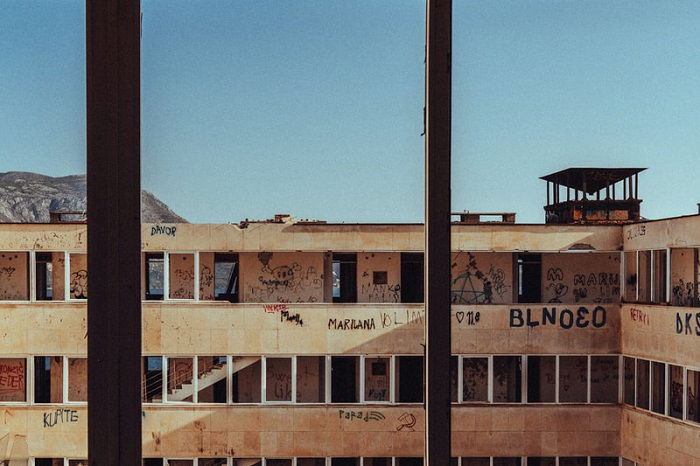
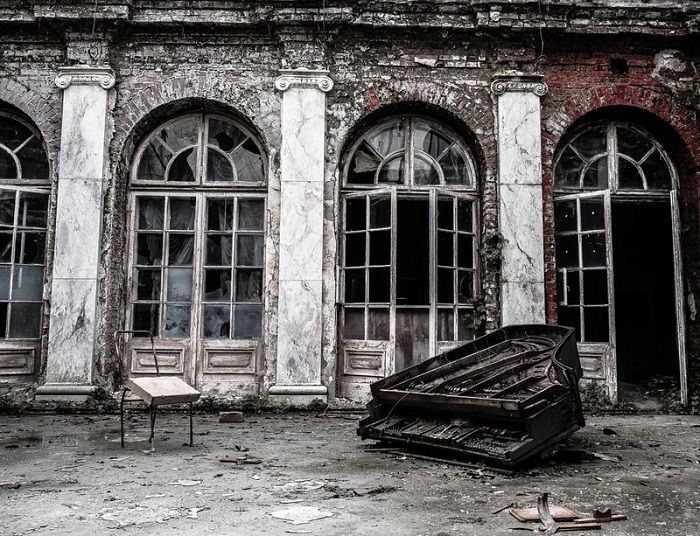
Many urbex photographers love shooting in black and white. Abandoned buildings are full of textures and contrasts that work well with black and white photography.
When it comes to post-production, Lightroom is excellent for black and white photos. You can play with monochrome settings. And you can adjust the saturation and contracts.
Read our full article on black and white Lightroom editing by clicking on the link above.
Experiment With the Lightroom Presets
If you have an idea of how you want your images to look, Lightroom presets can save time in post-processing.
You can give your urbex images a distinct and uniform look. Or you can experiment with different presets. There are specific presets for street and urban photography. And there are presets for portraits and landscapes, too.
There are hundreds of free presets in Lightroom. Lucky for you, we’ve compiled a list of our favourites.
To see the full list of Lightroom presets, click on the link above.
Lens Correction in Lightroom
Lens distortion can be a problem with any kind of photography. Urban exploration photography is no different.
You can’t always rely on the light sources on location. And you might not have the exact lens you need for a particular shot.
But lens distortion doesn’t have to ruin your set of urbex images. Take a look at our article on lens correction using Lightroom. Click the link above and enjoy.
Reduce Noise in Post-Processing
Abandoned buildings are often dark. To get the right shots you often have to use a higher ISO setting. This can result in a lot of noise on your images.
But Lightroom comes to the rescue again. It has some excellent tools for removing digital noise on your photos.
We have a tutorial for fixing grainy images in Lightroom. Click the link above to find it.
Try New Editing Styles
The fun doesn’t have to stop when your exploration is over. You can experiment with different editing styles in Lightroom.
You can turn your color images black and white. You can apply different finishes to the images. You can even add filters to give a film effect.
Editing your images is a great way to add new dimensions to your photography. We have some excellent tips for trying new editing styles. Click the link above for the full article.
Conclusion
That’s our take on urban exploration photography. It’s fun and exciting. You’ll discover wonderful places. And you get some amazing photos.
But be careful. Do your preparation and make sure you pack your safety gear. Urbex is an exciting hobby. But it can be dangerous too.
Remember the urbex philosophy ‘Take nothing but pictures and leave nothing but footprints’.