When it comes to landscape photography, there are a few different aspect ratios you can choose from to give your photos the best composition. But which one should you use? And how do you determine what that is? In this article, we’ll explore the different aspect ratios and how to choose the best landscape aspect ratio for your photography.
What is the Landscape Aspect Ratio?
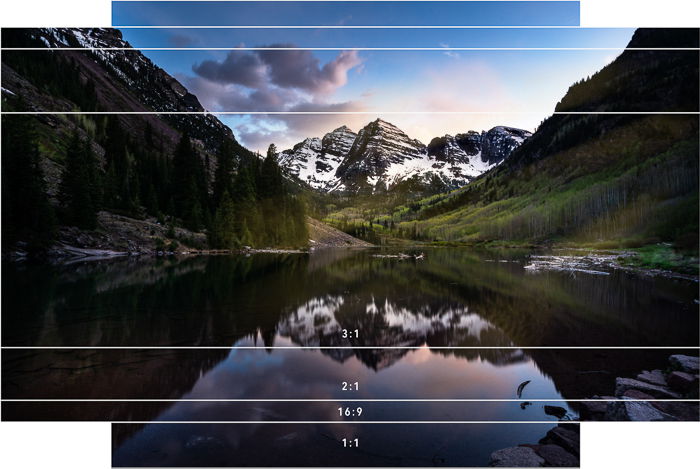
An aspect ratio is the relationship of width to the height of your image. This relationship is expressed as a proportion. Common ratios are 1:1, 3:2, 4:3, 5:4, 16:9, and 2:1. The ratios can go either way. 3:2 is the same as 2:3.
A 1:1 aspect ratio means that the height and width of your image are the same. You have a square. A 3:2 aspect ratio means that one side of your image is 50% longer than the other. A 3:1 aspect ratio means that one side is three times the length of the other.
Each aspect ratio can be converted to many sizes. For instance, an 8×10 photo has a ratio of 4:5. A photo with this ratio can be printed at 4×5”, 8×10”, or 16×20”. The proportions and the shape of the image will be the same.
Aspect ratios also convert to pixels. Your sensor size determines the number of pixels along each edge. But the proportion of pixels will follow the native ratio of your camera. For instance, my 24 MP camera creates 6000×4000 pixel images. This is a 3:2 ratio.
Landscape vs Portrait Orientation
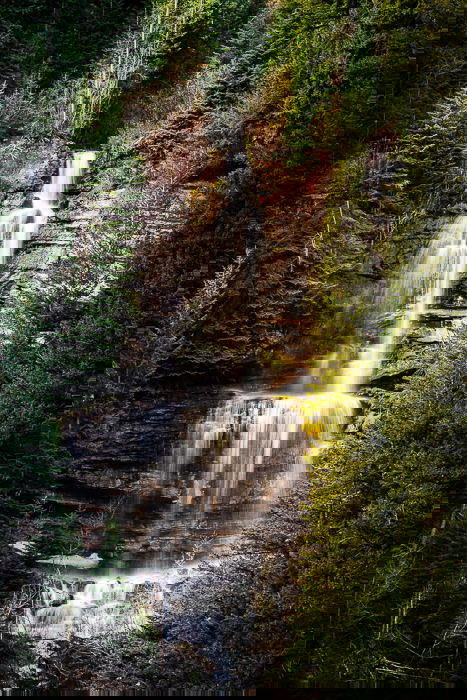
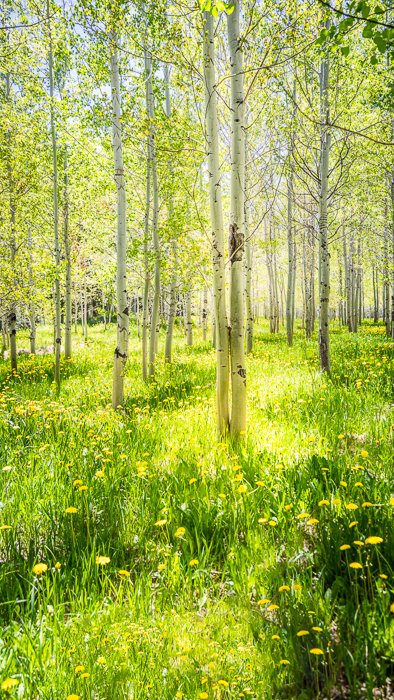
The image can be in landscape orientation, with the width being longer than the height. Or portrait orientation where the height of your image is more than the width. Both can work in landscape photography. If there is more vertical interest, consider portrait orientation. If there is more horizontal interest, landscape orientation is your best choice.
Selecting an Aspect Ratio in Landscape Photography
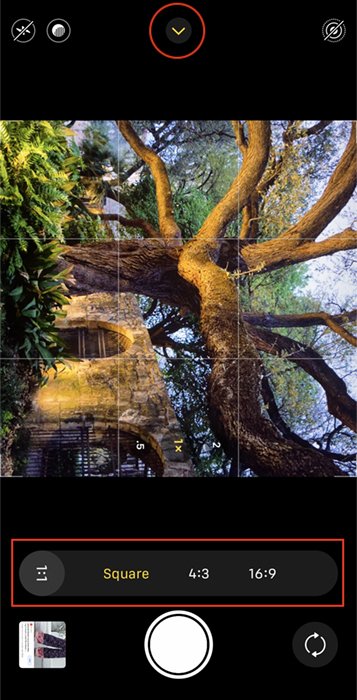
Your camera has a default aspect ratio. For many cameras, this ratio is 3:2. Using a micro four-thirds system, your camera is shooting in a 4:3 ratio (“four-thirds”). This is also the ratio used by iPhones and other mobile cameras.
Your camera uses this ratio by default, but you don’t have to keep that image shape. Some cameras can switch out of their native aspect ratio. The iPhone, for example, can switch easily between 4:3, 1:1, and 16:9.
The benefit is that you can quickly see how different aspect ratios change the impact of your image. But do not permanently limit your options. Later, you may decide to reshape your image.
It is helpful in the field to be able to visualize how the composition looks in different ratios. But many photographers use their native aspect ratio in the field. Then, change the aspect ratio later in post-processing. But have an idea of what aspect ratio might work best before you take the shot. There is nothing worse than getting your image home and finding out that you didn’t leave enough room for cropping. The image many need cropping, and you want to make sure you have captured enough of the scene to allow you flexibility in post-processing.
Cropping in Post-Processing
It is helpful in the field to be able to visualize how the composition looks with different shapes. But many photographers use their camera’s native aspect ratio in the field. Then, they change the image shape later in post-processing.
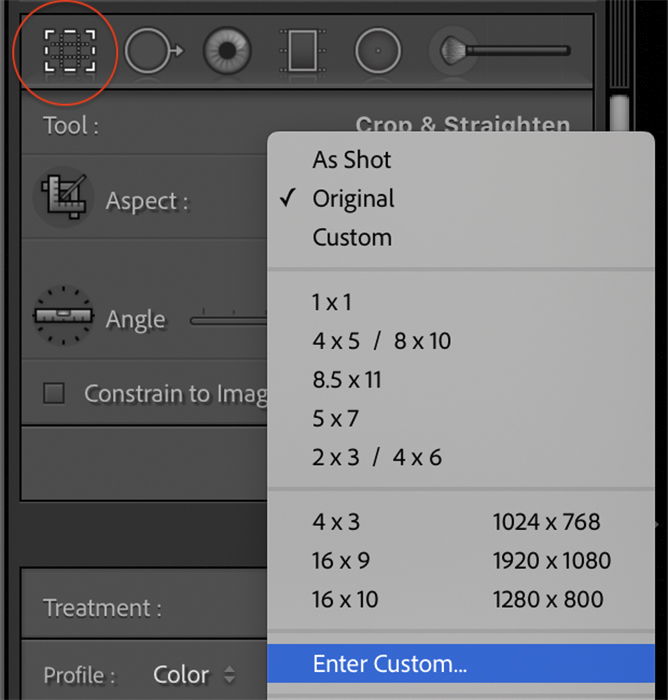
But have an idea of what frame shape might work best before you take the shot. There is nothing worse than finding out later that you didn’t leave enough room for cropping. You want to have captured enough of the scene to allow flexibility in post-processing. Many photo editing programs have aspect ratio cropping-presets built-in.
When you crop to an aspect ratio, you can adjust where the main elements of your composition fall in the frame. You can zoom in and remove extra space and distractions around the center of interest. You can move the subject left or right, up or down in the frame. You can even flip the image if it looks better.
Which Aspect Ratio is Best for Landscape Photography?
There is really no best aspect ratio for landscape photography. The best ratio depends on where the visual interest is in your composition. Each of the standard aspect ratios has pros and cons. Some will work better with some scenes than others.
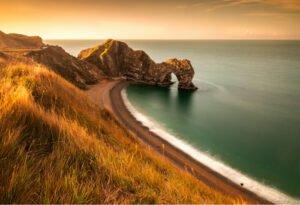
Look particularly for foreground elements. Also, how much the sky contributes to the overall composition. Some image shapes give you too much sky in landscapes. If the sky is not interesting, then including it waters down the impact of your photo. If the sky adds nothing to the image, use a different aspect ratio and crop it out.
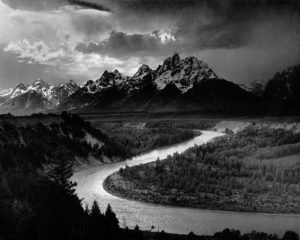
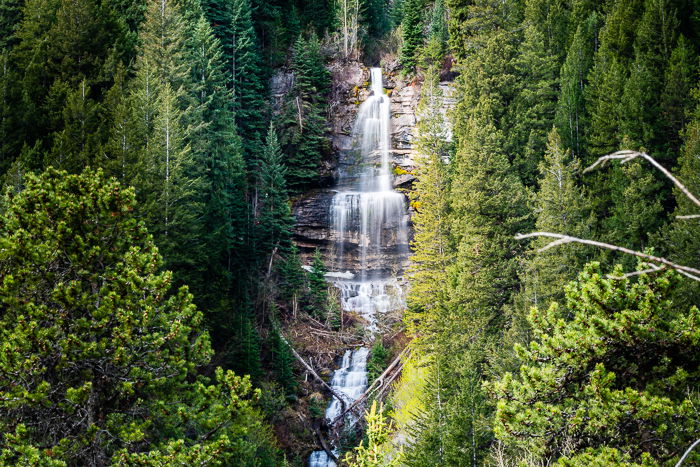
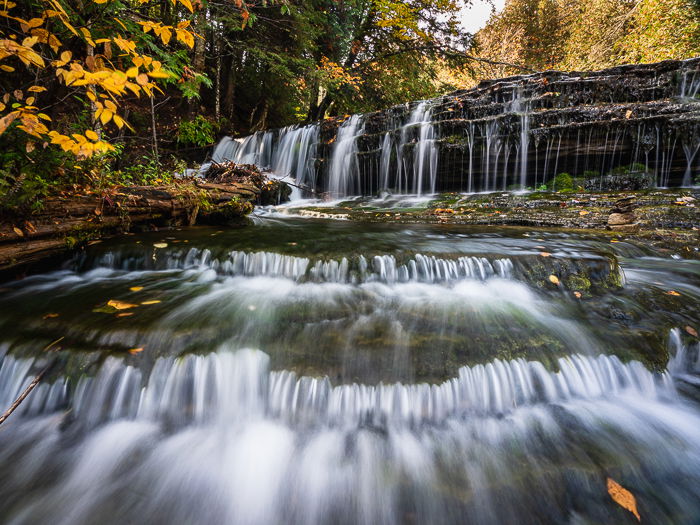
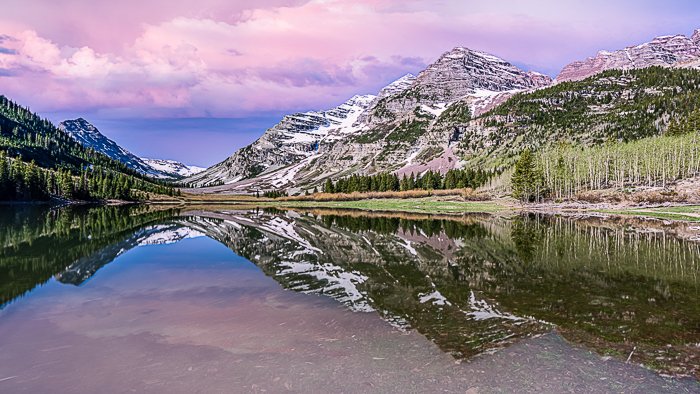
If most of the visual interest lies left to right along the horizon, use a shape that emphasizes the width of your photo. A panoramic aspect ratio like 16:9 may be best. If there is both vertical and horizontal interest, use a ratio that balances the height and width. An aspect ratio like 4:5 may be best. This may happen when you have a foreground element or when your photograph includes an interesting sky.
Square 1:1 Aspect Ratio
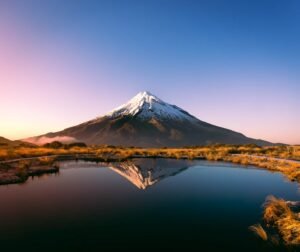
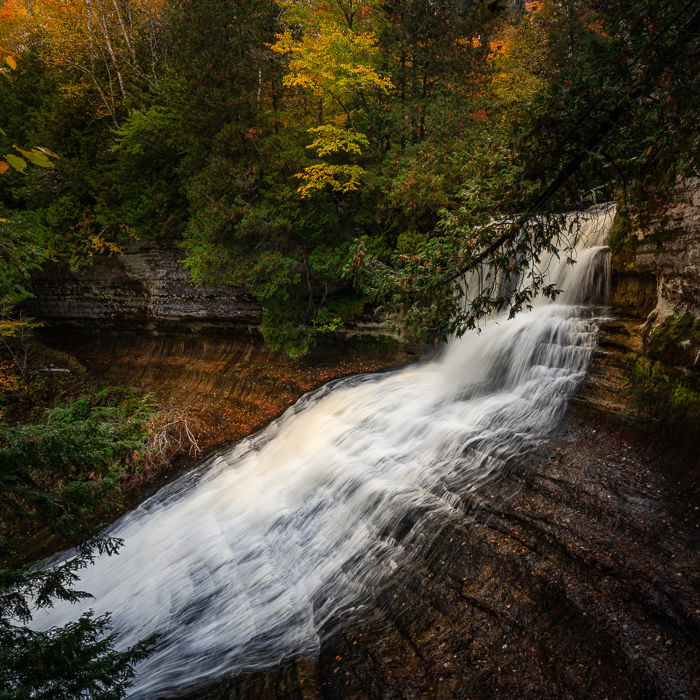
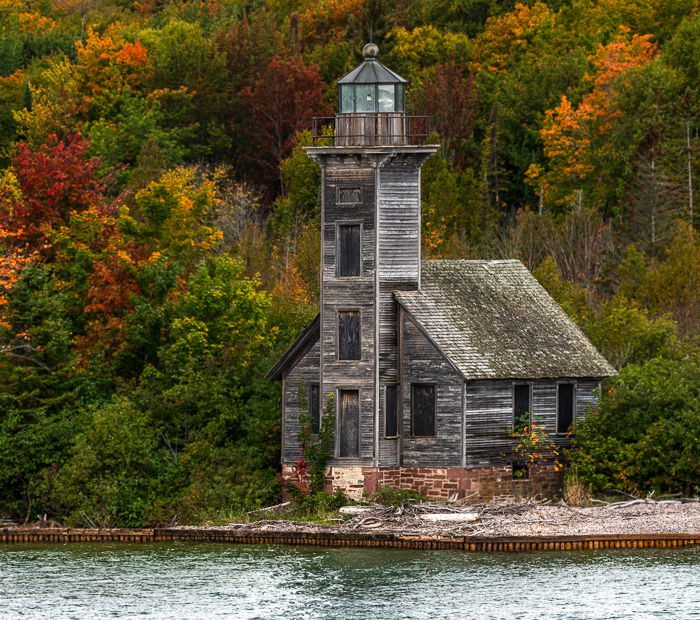
Let’s start with the square 1:1 aspect ratio that is popular on Instagram. This image shape was also very popular with medium format film cameras. Use this shape when there is a clear center of interest. Also, when there is equal visual interest vertically and horizontally. The focus is on a central subject.
Rectangular 4:5, 4:3, and 3:2 Aspect Ratios
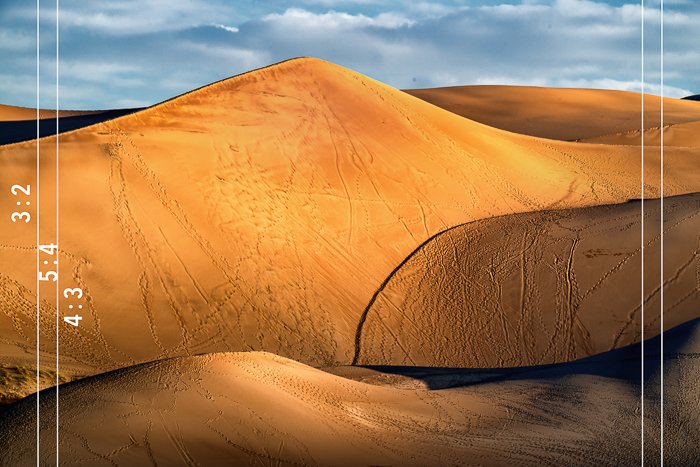
Many of the common aspect ratios are rectangular. One side is longer than the other, but they may be almost square. Use one of these ratios when there is both vertical and horizontal interest in the scene.
You may have a landscape stretching across the horizon. But you may also have an interesting sky or a foreground element. If there is depth to your image, then choose an aspect ratio that has some height and width.
With a zoom lens, you can compose your scene in-camera using the native aspect ratio. No cropping is needed later.
These are common aspect ratios, but the images may look a bit squished. That, or there is too much unappealing sky.
Panoramic 16:8, 2:1, and 3:1 Aspect Ratios
When we describe a photo as panoramic, we are not talking about one aspect ratio. Many ratios fall into the category of panorama. The thing that links them together is a long, thin shape, usually in landscape orientation. A common ratio for panoramas is 16:9. But 2:1 (16:8) is also common. You may have other panoramic options like 16:10 or 3:1.
In landscape photography, panoramas are often in landscape orientation. But they do not have to be. For example, if you have a vertical line of interest like a Milky Way shot with a foreground element, a vertical panorama may be the right shape for your scene.
Panoramas are often created by stitching many images together. Some cameras have a panorama setting. You pan over a scene while the camera automatically takes and combines many photos.
Or you can manually take individual images across a scene. Then, stitch them together using photo editing programs like Adobe Lightroom or Photoshop.
Non-Standard Aspect Ratios
Every image has a width to height ratio. But the relationship does not have to conform to one of the common ratios. There are many common aspect ratios, but you do not have to use them. You can crop an image to any shape you want to enhance your unique composition. You do not need to cut off anything of interest or include non-interesting aspects of the scene.
It is more difficult to print and frame images with non-standard shapes. But if you primarily show images online, then using a traditional aspect ratio may not matter.
Printing Aspect Ratios
There is one more thing to think about when choosing an aspect ratio for your landscape photo. The plan to print and frame your landscape photos also impacts the shape you choose. Common aspect ratios on cameras do not necessarily equate to common printing or framing sizes.
One of the most common aspect ratios in digital photography is 3:2. You can print images that are 6×4”, 12×8”, and 18×12”. You can print these, but it may be more challenging to find mats and frames for these prints. The 4:5 ratio is much more common in framing. The sizes for this aspect ratio are the widely available 8×10 and 24×30.
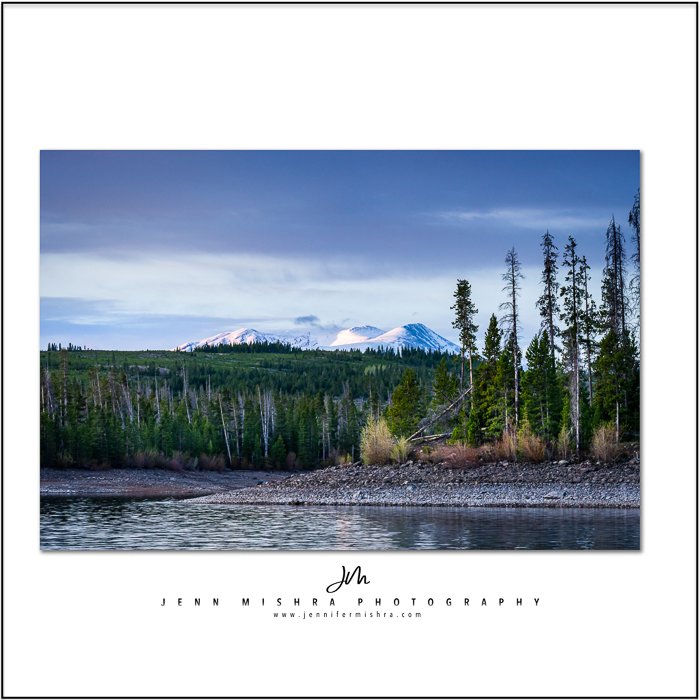
Printing square prints is more common in this Instagram world. But panoramas will be more challenging to print and frame. Printing a non-standard image shape likely needs custom mats and frames. This can become expensive. Or consider adding whitespace around the image to create a standard shape.
Conclusion
Selecting the best aspect ratio to use for your landscape photos depends on the composition. The shape of your image should enhance the composition and keep your viewer’s attention in the frame. You may find yourself gravitating towards one aspect ratio. Or you may vary aspect ratios for different scenes.
If you’re ready to learn more about landscape photography, check out our Simply Stunning Landscapes eBook.